A practical workflow for preserving a transparent cutout, checking its edges, and placing it on a new color or image.
Test record and current workspace
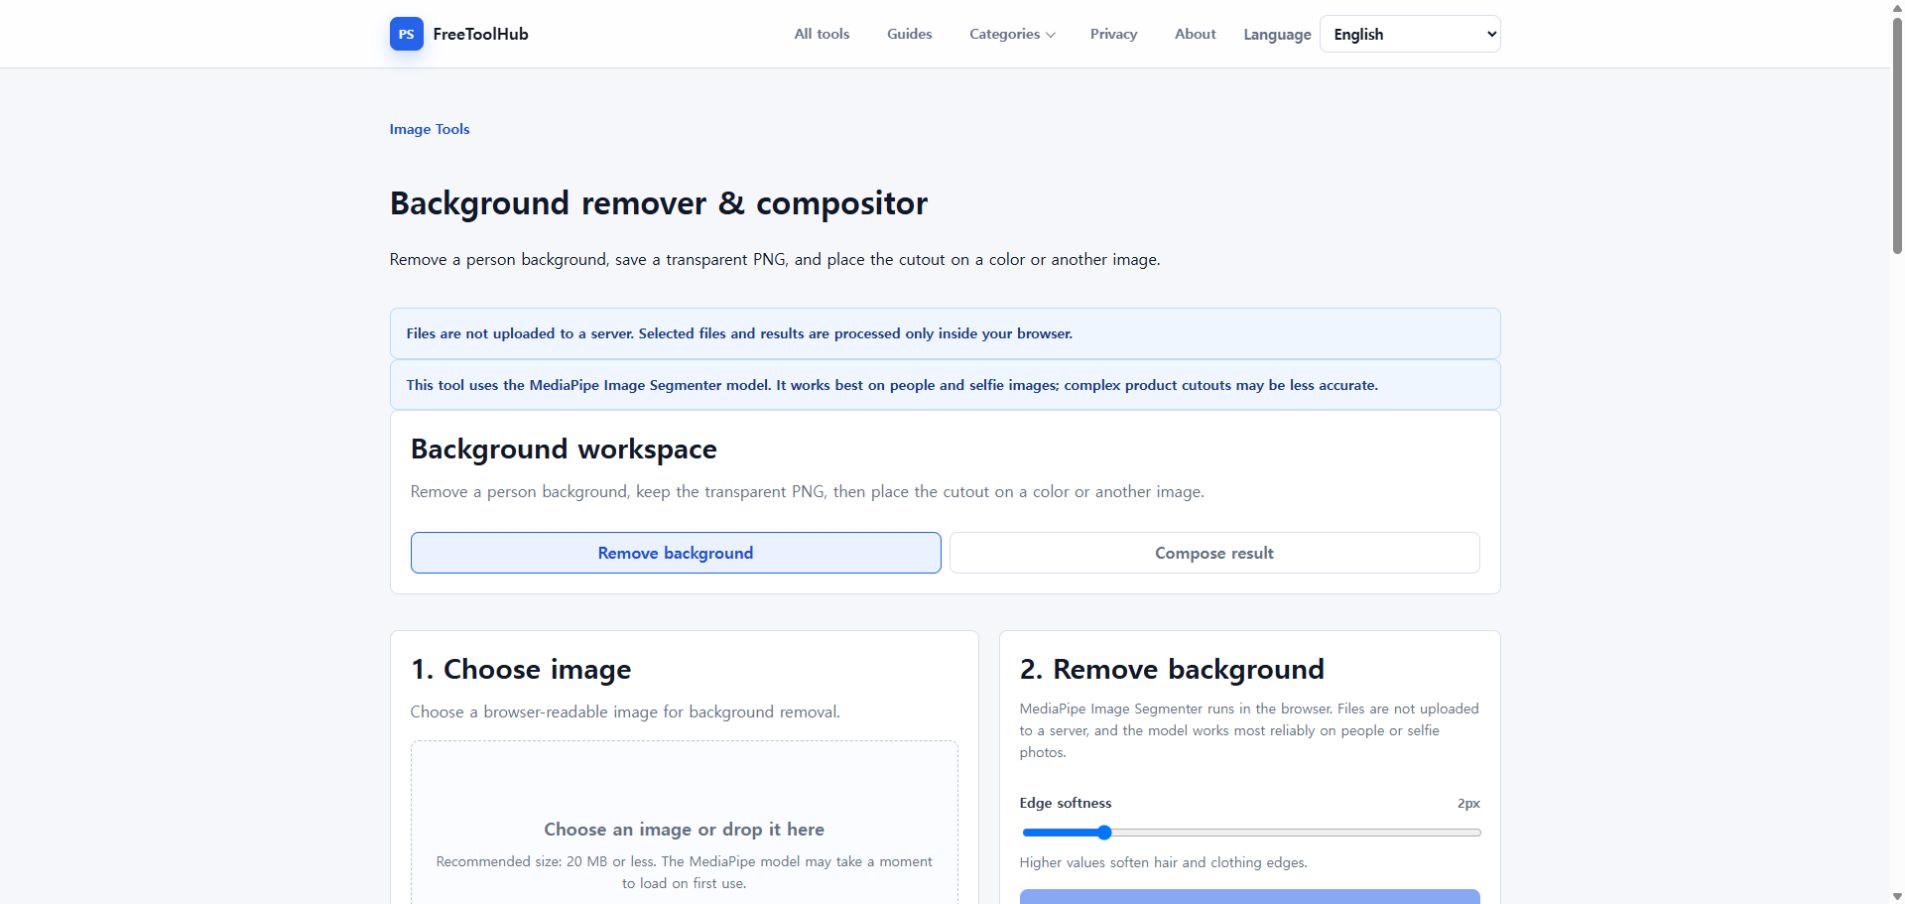
This is a capture of the published workspace used for the guide. The record below separates what was tested, what was observed, and what still depends on the browser or device.
Current published workspace used while checking “From background removal to a finished composite”.
Test environment
Chrome 126+ · Windows 11 · portrait PNG / JPG
Test case
portrait · transparent PNG · edge · composite
Observed result
Portrait masking, transparent PNG export, edge inspection, background replacement, and final composite export were checked in sequence.
Known limit
Hair, motion blur, transparent objects, and low contrast can still require manual edge cleanup.
Start with a suitable person photo
Person segmentation works best when the subject is clearly separated from the background and important edges are visible.
Avoid motion blur around hair and hands.
Start with low edge softness and increase only when the mask looks harsh.
Keep the transparent PNG as a master
Download the cutout before flattening it onto a new background so it can be reused for more than one design.
Inspect hair and clothing on the checkerboard.
Do not use JPG for the transparent master because JPG has no alpha channel.
Build and verify the composition
Choose canvas dimensions first, decide whether the background should fill or fit, then adjust the cutout scale and position.
Use PNG when transparency must remain; use JPG or WebP for a finished photo.
Open the downloaded result separately and check edges at 100% zoom.